How to Plan a National Park Trip: 7 Tips for a Perfect Visit
America’s national parks preserve some of the most beautiful and special places in the country.
National parks provide great opportunities to see some of the country’s most stunning natural spaces, get some fresh air, and take a vacation unlike any other.
In fact, they are so unique and spectacular that they make the cut for many people’s bucket lists. There are many on my own bucket list.
There are 63 national parks across 30 states and two US territories.
I’ve been to about twenty national parks (so far), so I have plenty of experience planning these trips.
There are a number of things I’ve learned across all of my national park trips that have helped me to have a better experience with each visit.
So without further ado, here are my seven best tips to plan a national park trip.
1. Plan early, especially for popular national parks
The earlier you can start planning your national park trip, the better.
According to the National Park Service (NPS), almost one third of America’s national parks had over one million recreation visits in 2020.
National Parks have only gotten more popular since 2020, so it’s even more important than ever to plan your national park trip as early as you can.
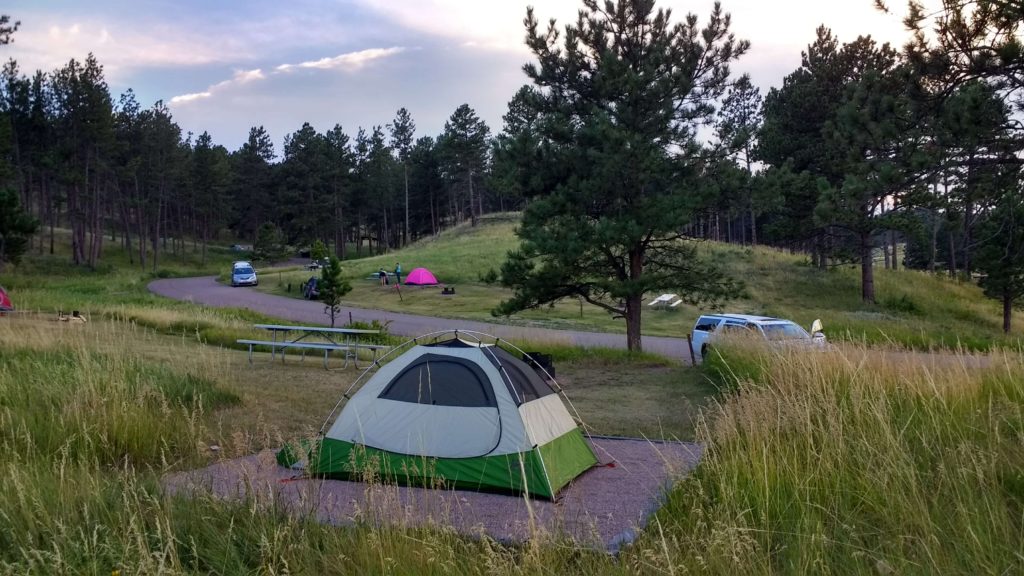
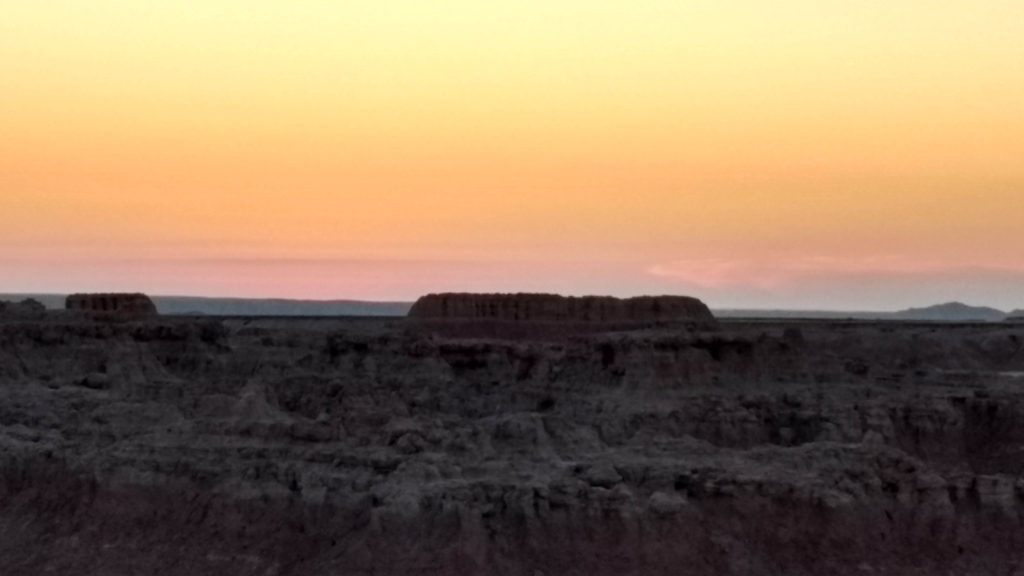
My first experience planning a national park trip was when I moved from the midwest to the west coast. I took a road trip out west and hit Badlands, Wind Cave, Yellowstone, and Glacier National Parks.
I planned out my national park road trip three months in advance of my move. This wasn’t a problem for making camping reservations at Badlands and Wind Cave, but campgrounds at the more popular parks (Yellowstone and Glacier) were already booked for the summer.
It didn’t matter too much because we found open campsites in the national forests adjacent to these parks. However, this meant that we had to drive an hour each way from camp to the national park and back every day.
Reserving a place to stay in the national park means you get more time to actually explore the park (not to mention saving on gas and cutting your carbon emissions).
Related: The Best Yosemite Campgrounds (With Reservation Tips)
So how do you know when to start planning your national park trip?
I typically consider what national park(s) I want to visit at the beginning of the year when my vacation days reset. Some national park campgrounds will allow reservations to be made six months in advance, so winter is a great time to start planning if you’re aiming for a summer visit.
Which brings us to the next tip…
2. Consider the best time to visit the national park(s)
One of the biggest factors that determines the best time to visit a national park, aside from when you have the availability, is the weather.
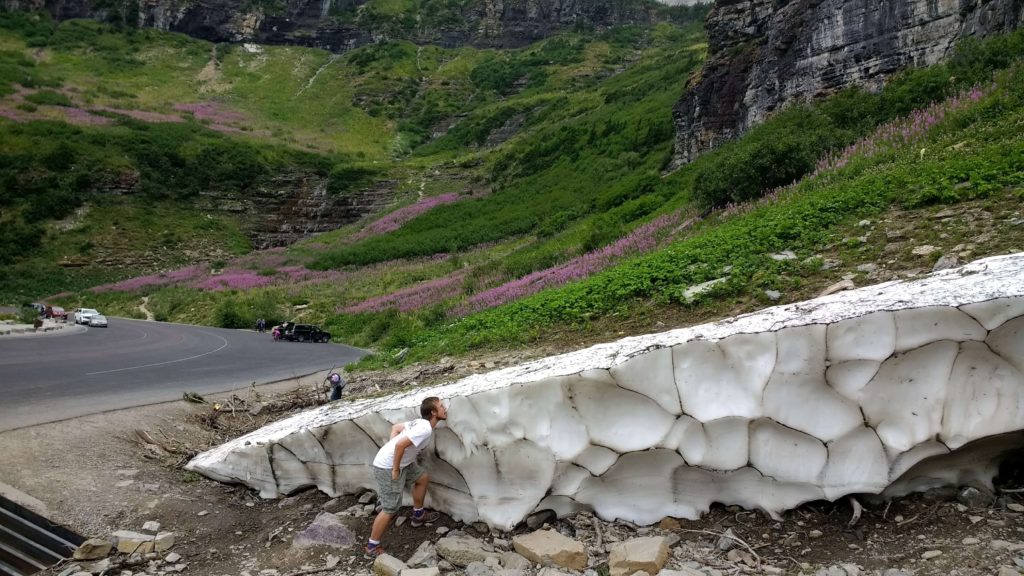
Keep in mind that the weather at national parks can be more extreme than in areas where most people live. A time of year that makes you think of nice weather might not be so great for visiting certain national parks.
For example, Crater Lake National Park gets an average of 42 FEET OF SNOW each year, so you can imagine that there’s snow on the roads for most months. Likewise, the main highway that runs through North Cascades National Park is closed because of snow until April or May each year.
So, make sure to research the typical weather throughout the year at a given national park to ensure you aren’t surprised by the conditions when you arrive.
Another factor to consider is the crowds. Visitations peak in summer in many national parks.
If you’re aiming to visit a park in the shoulder season to avoid crowds, make sure again to check the typical weather conditions for that time of year. You don’t want to show up at a park too far out of season when roads are closed or certain amenities are no longer offered.
The last factor to help you decide when to visit a national park is one that you might not expect: moon phases.
Many national parks have epic stargazing opportunities since they’re far removed from cities and their light pollution. Looking up at the night sky under a bright full moon can dampen the experience.
If you have the flexibility to determine the exact days of your trip, aim for as close to a new moon as you can for the best stargazing opportunities.
Check out the NPS’s list of national parks that offer night sky programs. (Keep in mind this is a partial list to get you started. We participated in an astronomy program at Crater Lake, not listed, and it was honestly one of the coolest things I’ve ever experienced.)
Related: Stargazing in Joshua Tree National Park: Complete Guide for Beginners
3. Build your itinerary using the National Park Service website/app and blogs
Once you’ve decided which national park(s) to visit, it’s time to research everything you can about the park.
You’ll want to learn all of the things to do in the park to tailor your experience and get the most out of your trip. Additionally, you’ll want to be familiar with the layout of the park to ensure that you can actually complete all of the things you want to do in the amount of time you have at the park.
There are two sources I recommend for completing your research: the NPS and blogs.
The NPS website is the most comprehensive source for information about each national park.
For each national park, you can find information on things to do, where to stay, maps, and more.
The NPS website is also up to date with park-specific alerts for things like road closures, fire bans, and other emergencies.
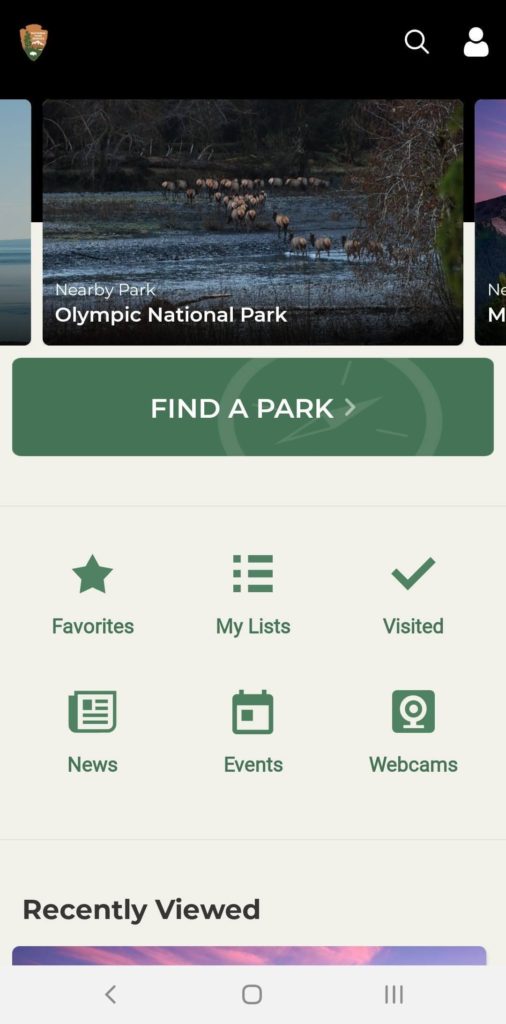
The NPS also has an app where you can find much of the same information in an on-the-go format. I like that it allows you to create a list of national parks you’ve visited. The app is available for both iOS and Android devices.
I always combine the information from the NPS website and app with research on blogs.
While the NPS website and app are the most thorough source of information, blogs are an excellent companion resource.
Blogs will often compile everything you need to know about a national park into one article so you don’t have to navigate through multiple NPS web pages to find everything you need. Additionally, blogs are a great source to distill all of the possible things to do down to the top highlights. Bloggers will typically recommend the best experiences in a national park, meaning you don’t have to sift through every possible trail, viewpoint, etc. listed on the NPS website and hope you made the best choice.
When planning my own national park trips, I typically cross-reference the highlights listed on a blog post with an official NPS map of the park to identify where each highlight is located within the park. That way I can determine an efficient itinerary instead of hoping I wander across all of the highlights once I arrive.
Check out the National Parks page on my website to find all of my national park guides and recommendations!
4. Save maps and notes for offline use
One key thing to know as you compile your research: there is little to no cell service in national parks.
While I generally appreciate the lack of cell service so I can disconnect from technology during my trip, I do try to plan my trips as digitally as possible so I don’t have to pack extra items like guidebooks, notebooks, etc.
But it’s not really useful to upload documents to the cloud or save pins on Pinterest if you’re unable to access them when you actually need to reference them. (I may or may not have been there before…)
I once made a list of the best hikes in a national park, complete with descriptions of the difficulty, viewpoint, and location of each trail. Once we were at the park, I didn’t have cell service to access my list, which was saved online. Trying to guess which trails we had been interested in once we were already in the park led to some stressful moments and underwhelming hikes.
I’ve since learned there are several apps that can help you plan your national park trip with options to save your files and data to your phone so you can still access the tools you need once you’re in an area without cell service.
Here are the apps and tools I use that allow you to download information to your smartphone for offline use.
First, the NPS app I mentioned earlier provides an option to download all of the information for an entire national park to your phone. To do this, simply search for the name of the national park and tap “Explore Full Park” to navigate to the park information. Then toggle on the option for “Save this park for offline use.”
If you’re taking your own notes to distill down all of the information available through the NPS app down to a few highlights, a great place to take these notes is in Google Drive. Google Drive makes it easy to share documents with anyone joining your trip and allows you to save documents for offline use.
Once you’ve created your document, check these instructions to save your file(s) for offline use on your Android or iOS device in the Google Drive app.
The last thing you may want to have accessible while you don’t have cell service is Google maps.
National parks are generally easy to navigate in because they have few roads and well-marked signage. However, it can still be useful to have Google maps available to use for navigation or to look up a specific location within the park.
Here are step-by-step instructions to download a section of Google maps for offline use on both Android and iOS devices. Once your map is downloaded, you can use the Google maps app normally within the downloaded section even if you don’t have cell service.
When you’ve returned from your trip and no longer need the offline map, you can delete it to clear space on your phone. Click here and scroll down to Manage Offline Maps for instructions on how to delete your offline maps from your Android or iOS device.
Just make sure to follow all of the steps above before you head out on your trip while you’re still connected to the internet. You don’t want to put in hours of research and preparation for nothing!
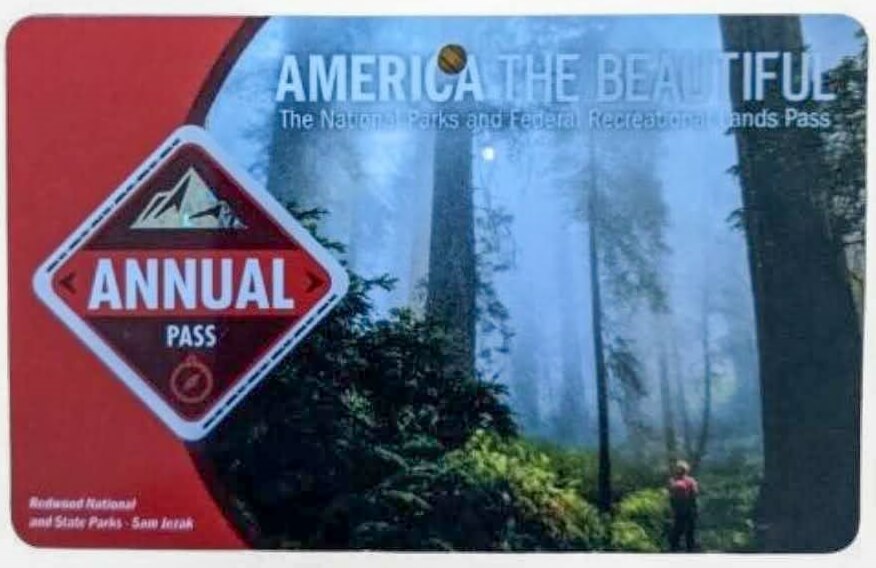
5. Consider purchasing an America the Beautiful pass if you’re traveling to multiple national parks
An America the Beautiful pass covers the following fees for one vehicle:
- entrance fees at national parks and national wildlife refuges
- standard amenity fees (day use fees) at national forests and grasslands
- fees at lands managed by the Bureau of Land Management, Bureau of Reclamation and U.S. Army Corps of Engineers.
There are several versions of the pass depending on what you qualify for.
The standard pass that any adult can purchase is the annual pass. The annual pass is valid for one full year from the month in which you purchase it. Even though the pass may be described online as the “2021 Annual Pass” (or whatever year it currently is), the pass doesn’t expire at the end of December unless that’s when you originally purchased your pass.
As of this writing, the annual pass costs $80. I would consider purchasing this pass if you know you’re going to visit three or more national parks within a twelve-month period (for example, if you’re planning a national park road trip). Keep in mind that not all national parks have entrance fees, so check each park’s fees on the NPS website before you purchase the pass to confirm that this pass will actually save you money.
Besides the annual pass, there are several other versions of the America the Beautiful pass for those who qualify. The list of these passes is:
- Senior (lifetime or annual passes): US citizens or permanent residents who are at least 62 years old
- Access: US citizens or permanent residents with permanent disabilities
- Military: Current US military members and their dependents, veterans, and Gold Star Family members. Veterans and Gold Star Family members also have the option of a lifetime pass.
- 4th grade: US 4th graders, including home-schooled and free-choice learners 10 years of age, with a valid Every Kid Outdoors paper pass
- Volunteer: Volunteers who have put in 250 service hours with the federal agencies that participate in the America the Beautiful pass program (National Park Service, U.S. Forest Service, U.S. Fish and Wildlife Service, Bureau of Land Management, Bureau of Reclamation, and the U.S. Army Corps of Engineers).
These passes all cover the same fees as the annual pass, but the specific rules (cost, expiration, etc.) around each of these passes vary. They are all either free or lower cost than the annual pass. Click here for more information on each pass type and how to obtain them.
America the Beautiful Passes can be purchased in-person at these locations or online. Note that if you purchase a pass online, it may take 3-4 weeks to arrive in the mail.
Read the FAQs about the America the Beautiful passes for the complete rules.
Related: Camping and Hiking on a Budget: 8 Ways to Save Money on Your Next Outdoor Adventure
6. Remember: the early bird gets the worm
As I explained under tip #1, America’s national parks are incredibly popular destinations.
This means that there are often lots of tourists competing for the same limited resources like campsites, parking spots, and more.
I don’t say this to discourage you from visiting national parks.
My point is to provide realistic expectations and emphasize the benefits of getting around earlier than everyone else.
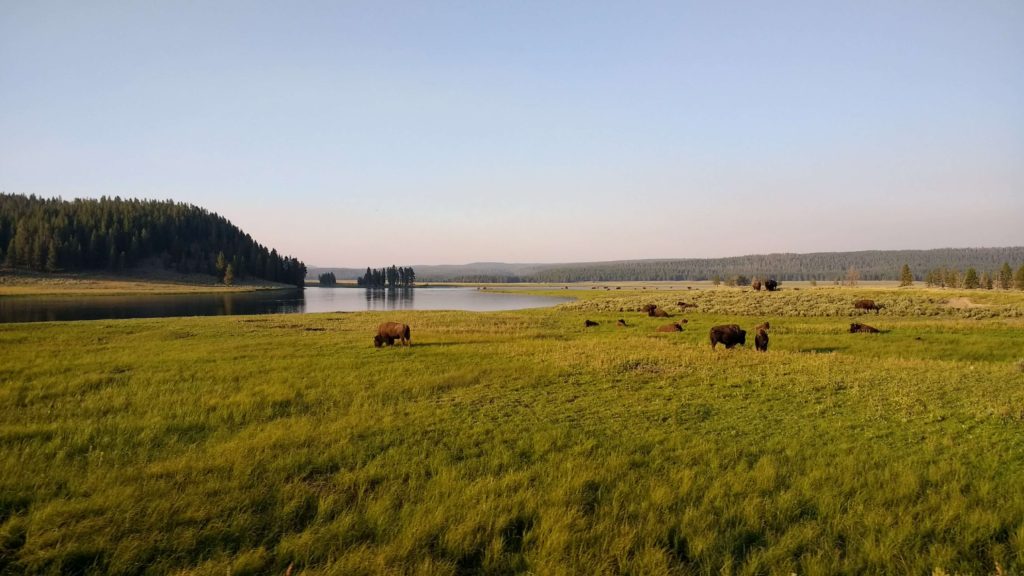
Yellowstone National Park, one of America’s most popular national parks, posts online the times at which first-come-first-serve campgrounds fill up each day. These campgrounds will often fill up before 7am!
Another example: at Olympic National Park, we waited for almost an hour on a Saturday afternoon to enter the Hoh Rain Forest section of the park. We circled the parking lot once and were about to keep driving when we happened to see another group walking back to their car to leave.
Sometimes the crowds will be unavoidable, but you can drastically improve your national park experience by getting an early start to your day.
Related: 6 Stunning Sunrise Hikes in Acadia National Park
7. Learn the 7 Leave No Trace Principles
Ok, so this last tip isn’t specific to national parks. But it’s an important step to prepare for any safe and enjoyable outdoor adventure.
The Leave No Trace Seven Principles are a set of best practices we can use to preserve our natural world when we spend time outside.
The seven principles are:
- Plan ahead and prepare.
- Travel and camp on durable surfaces.
- Dispose of waste properly.
- Leave what you find.
- Minimize campfire impacts (be careful with fire).
- Respect wildlife.
- Be considerate of other visitors.
Some of these instructions may sound intuitive, but you’d be surprised how many people are unaware of the environmental and safety hazards that can result from disregarding these principles.
By following these practices, we can all help keep our national parks in tip top shape for future visitors. We can also ensure that we and other visitors have a safe, positive experience free of injuries and other emergencies.
Start exploring US national parks: