Best Easy Day Hikes in Mount Rainier National Park
Mount Rainier National Park is on the ancestral lands of the Yakima, Cowlitz, Puyallup, and Nisqually Nations.
One of the best activities at Mount Rainier National Park is hiking. Whether you choose a trail with breathtaking views of Mount Rainier or one that lets you explore a small section of the park, hiking is a great way to see all that this national park has to offer.
And there are lots of hikes to choose from: this park has over 260 miles of trails and the National Park Service website lists 34 individual trails.
Looking for a quick day hike to tackle on your visit to Mount Rainier National Park? No need to sift through all of the options, because I’ve narrowed it down to the best easy hikes for you.
All of the hikes listed below are under four miles roundtrip with an elevation gain of about 500 feet or less.
These trails are great for beginner hikers or anyone looking for great scenery with a relatively low amount of effort. They’re also ideal choices for anyone like me who tries to fit in as many different sights and hikes as possible in a short visit to the park.
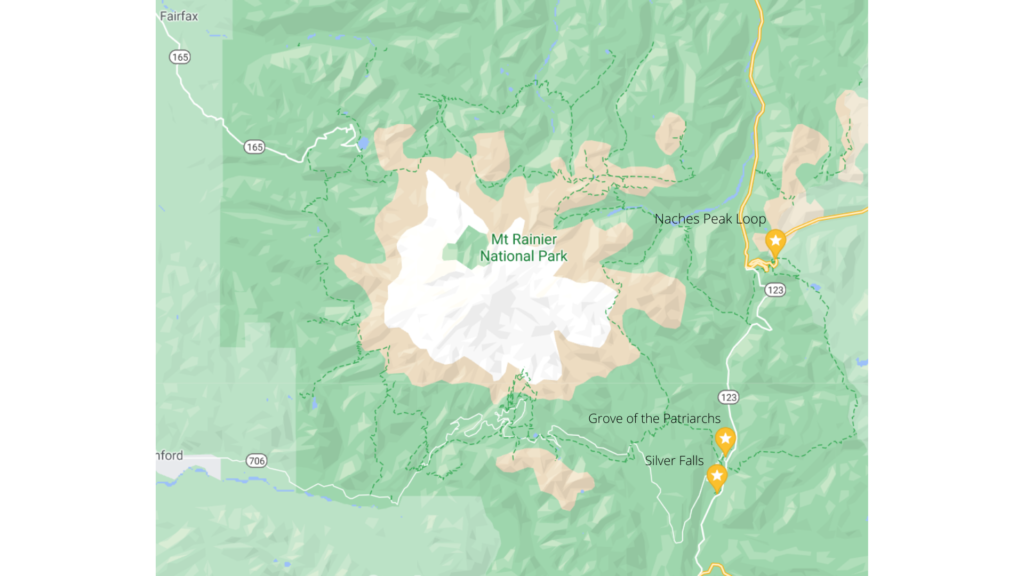
Check out the map below for a visual reference of where each of these hikes are within the national park.
Even though these are some of the easier day hikes in the park, you still should pack up your bag with day hike essentials to keep you comfortable and prepared out on the trail.
Happy hiking!
1. Grove of the Patriarchs
- Distance: 1.5 mile loop
- Elevation gain: 50 ft
The Grove of the Patriarchs trail is an essentially flat hike that’s suitable for all ages, which makes it really popular with families. I did this hike on a lazy day of a camping trip with friends.
This trail will take you over a suspension bridge that crosses the Ohanapecosh River to an island of old-growth trees. Along the wooden boardwalk and dirt path you will come across interpretive signs that teach you about the forest life on the island. Even if you don’t pause to read the signs, you can appreciate the awe-inspiring magnificence of the giant red cedars, Douglas firs, and western hemlocks that surround you.
The trail is a loop, so when you reach the fork, you can take either direction. While this means that this isn’t a trail that has an endpoint with epic views, I’d argue that wandering through these ancient giants – some of which are over 1,000 years old! – is an epic nature experience that can be enjoyed by hikers of all ages and skill levels.
The Grove of the Patriarchs trail is located in the Ohanapecosh area of the park. The trailhead is located off of Stevens Canyon Road; if you are turning onto this road from Highway 123, the parking lot will be on your right. The lot is typically full in the summer so you will likely see cars parked along the road. Be careful as you walk from your car to the trailhead, especially with little ones, since this is a windy road.
2. Silver Falls
- Distance: 3 miles roundtrip
- Elevation gain: 300 ft
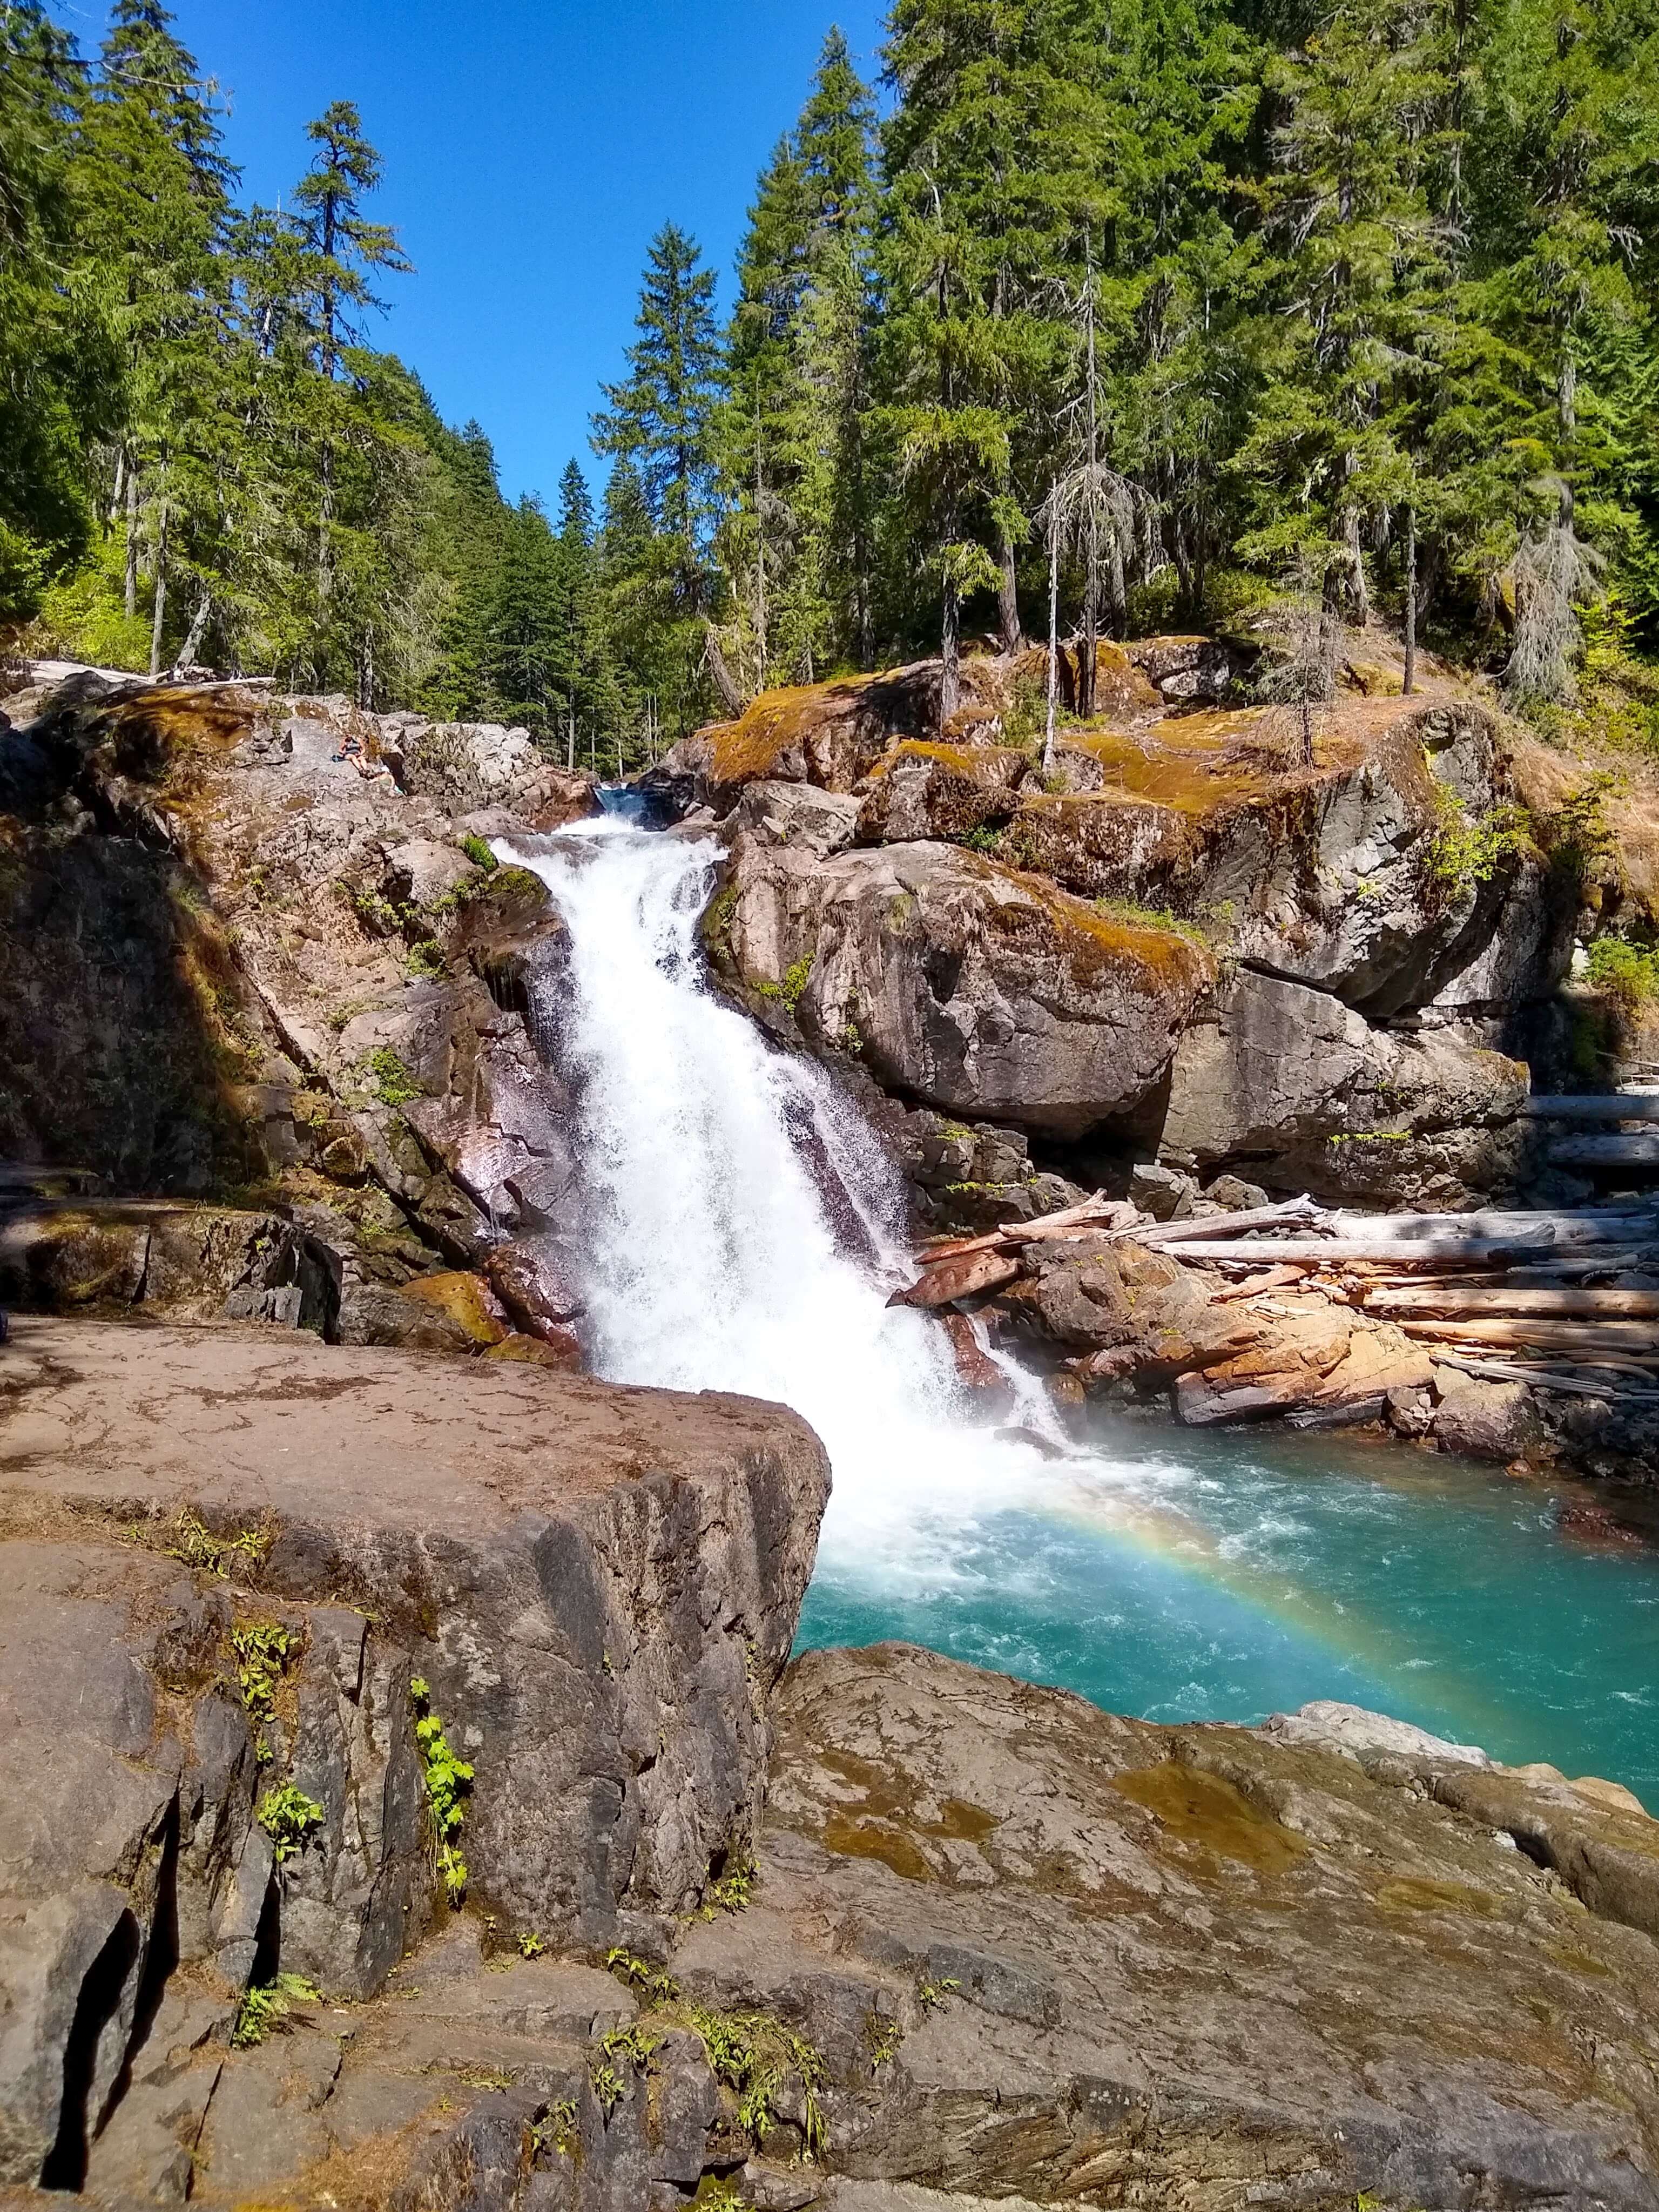
If you found that Grove of the Patriarchs didn’t quite scratch the hiking itch, hop on over to the nearby Silver Falls trail.
The gorgeous views of the falls for such a relatively easy hike definitely makes this trail worthwhile for hikers of any skill level.
This trail starts in the Ohanapecosh Campground; if you aren’t camping there, look for signs for the day use parking area. Once you’re parked, you can actually start this hike from one of two trailheads: either next to campsite B-2 in Loop B (near the visitor center) or near the campground amphitheater.
Set aside about 1.5-2 hours to complete the hike, though I’d recommend taking more time to enjoy a tranquil picnic lunch sitting next to the waterfall. (Set aside an additional 30 minutes for an internal debate on whether to become a park ranger so you can spend the rest of your life at Silver Falls instead of going back to the office. Trust me, the debate will happen.)
I hiked back to the Ohanapecosh Campground on the same leg of the trail I used to come in to the falls, but you could complete this hike as a loop instead if you cross the bridge below the falls and continue the trail from there.
3. Naches Peak Loop
- Distance: 3.5 mile loop
- Elevation gain: 500 ft

The Naches Peak Loop is located in the Sunrise section of the national park. This trail is so wonderful because there is something beautiful to see pretty much anywhere you look throughout the hike!
The loop is made up of two trails that surround Naches Peak: The Pacific Crest Trail to the north of the Peak and the Naches Peak trail along the south side. Keep this in mind because you will need to pay attention to signage to know when it’s time to switch to the second trail!
Almost every guide online will recommend that you hike the loop in the clockwise direction so you can get the best views of Mount Rainier. (Learn from my mistakes: if you embark on this hike too close to sunset, the sun will shine right in your eyes during all of these breathtaking views and you won’t get the full experience!) In addition to the mountain views, you will see abundant wildflowers and a viewpoint overlooking Dewey Lake.
This hike takes about two hours, but make sure you leave enough time to take photos of all the wildflowers and soak in the jaw-dropping views of Mount Rainier.
You can start this hike by parking at the Tipsoo Lake parking area. I somehow missed this spot and instead parked about half a mile further along Highway 410 at Chinook Pass, where you can start your clockwise hike by crossing the pedestrian bridge over the highway to the Pacific Crest Trail.
As always, enjoy the outdoors responsibly. Leave no trace on all of your adventures.